Add your repository
By default, CodeBeaver will ask you to activate one repository. You can also add more by:- Going to your Dashboard
- Clicking on “Add Repository”
- Selecting your repository
- Clicking on “Add”
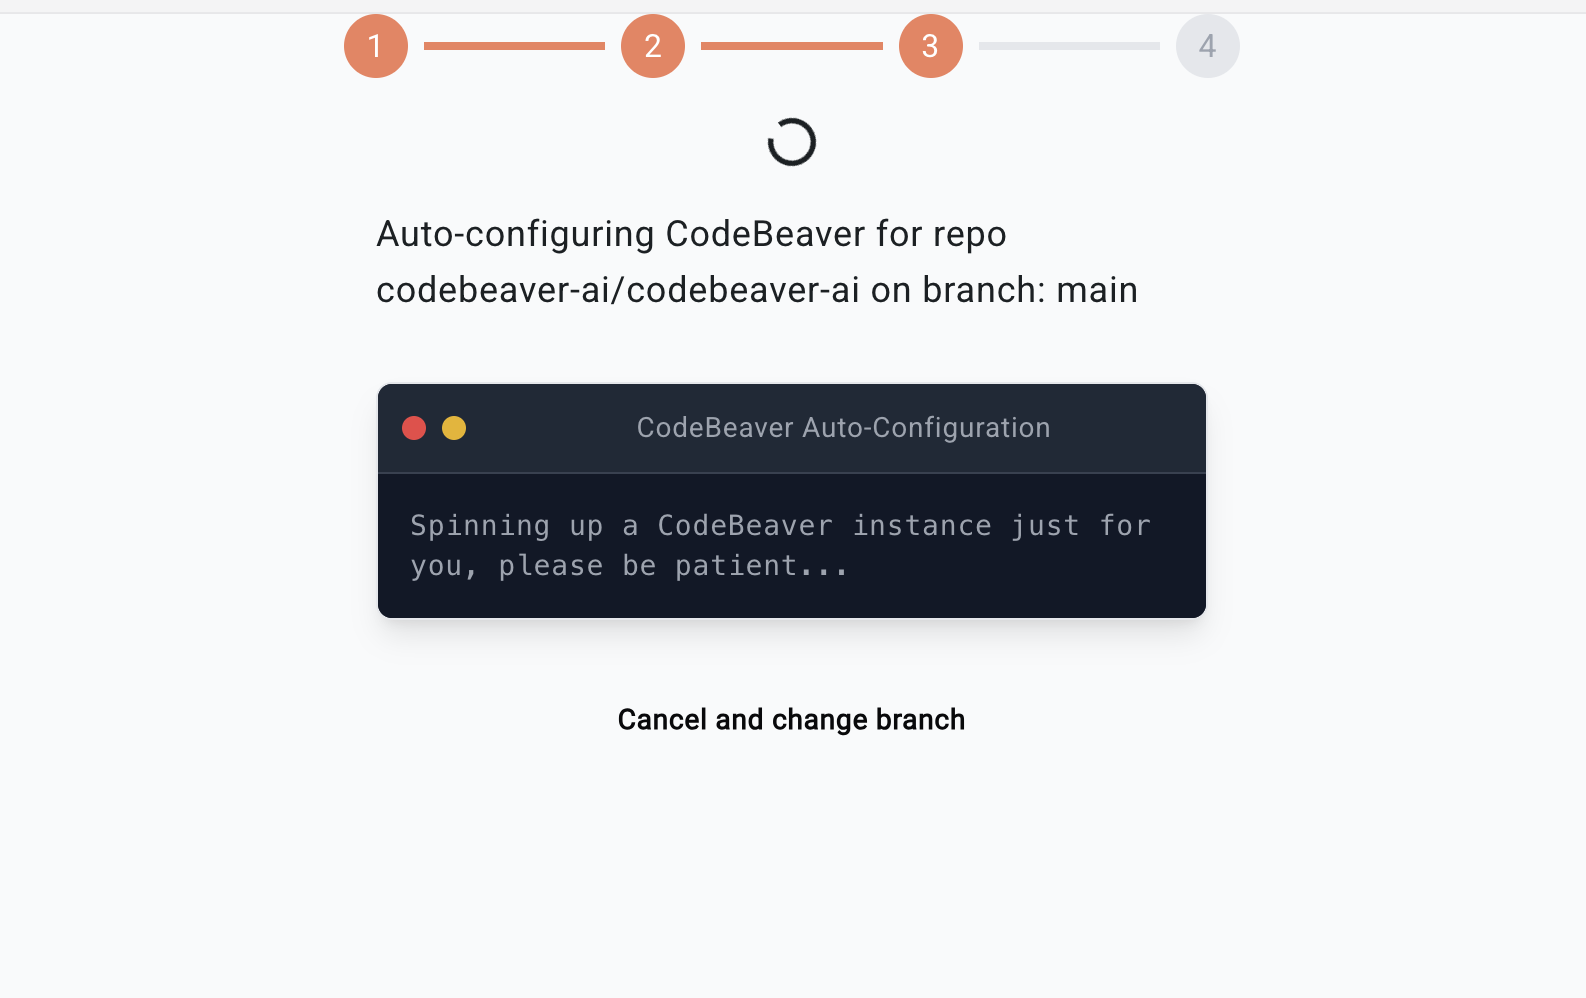
Repository Analysis
After adding a repository, CodeBeaver will:- Analyze your codebase to understand its structure
- Identify testable components
- Generate appropriate test cases
- Create pull requests with the new tests
You’re all set!
You’re all set!- CodeBeaver will now start writing Unit Tests for the repository(s) you activated.
- Default configuration is to run tests on every PR.
- You can change the configuration in the
codebeaver.yamlfile.
Need help?
- Join our community Discord for discussions and quick help
- Contact us at info@codebeaver.ai or click the “Support” button in the CodeBeaver dashboard
- Check out our troubleshooting guide for common issues