Pull Request opened on GitHub, GitLab or Bitbucket
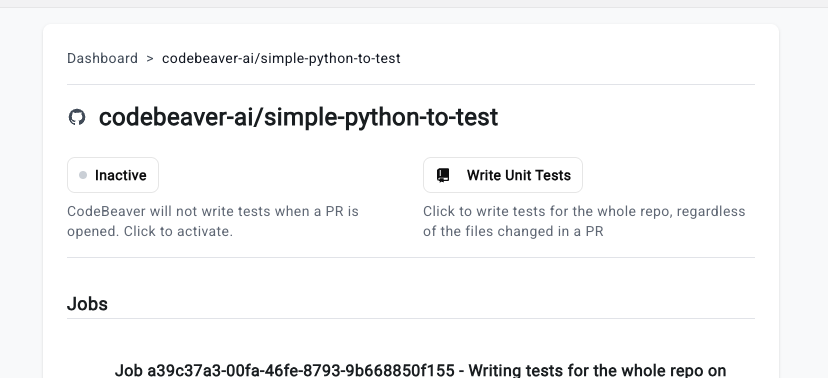
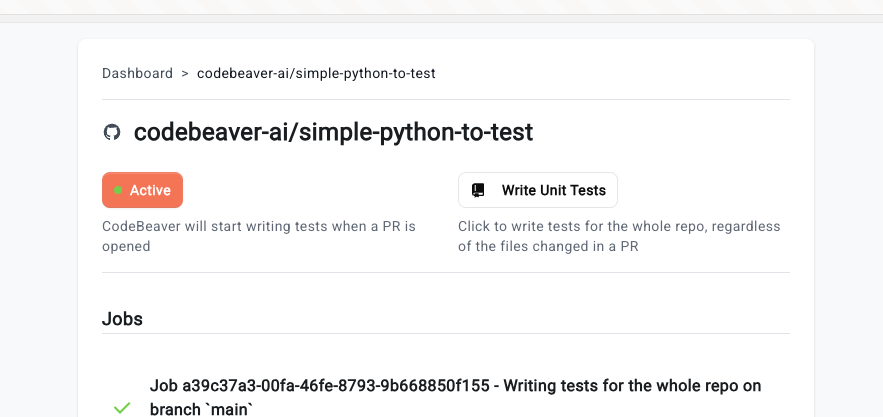
CodeBeaver can be triggered every time a Pull Request is opened on GitHub, GitLab (Merge Request) or Bitbucket. This is the most common way to trigger CodeBeaver. To set this up, just make sure that your repository is marked as “Active” in the CodeBeaver dashboard. For example: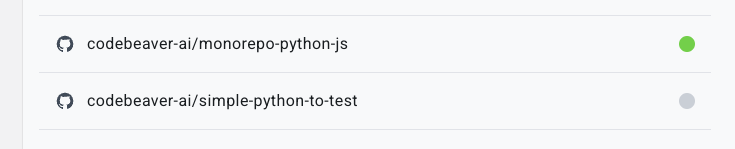
monorepo-python-js is active. This means that CodeBeaver will run tests on every Pull Request opened on this repository. The repository simple-python-to-test is inactive. This means that CodeBeaver will not run tests on Pull Requests opened on this repository.
GitHub Action
You can trigger CodeBeaver as part of our CI/CD integration features. Check out the dedicated page in our docsManual trigger: Pull Request
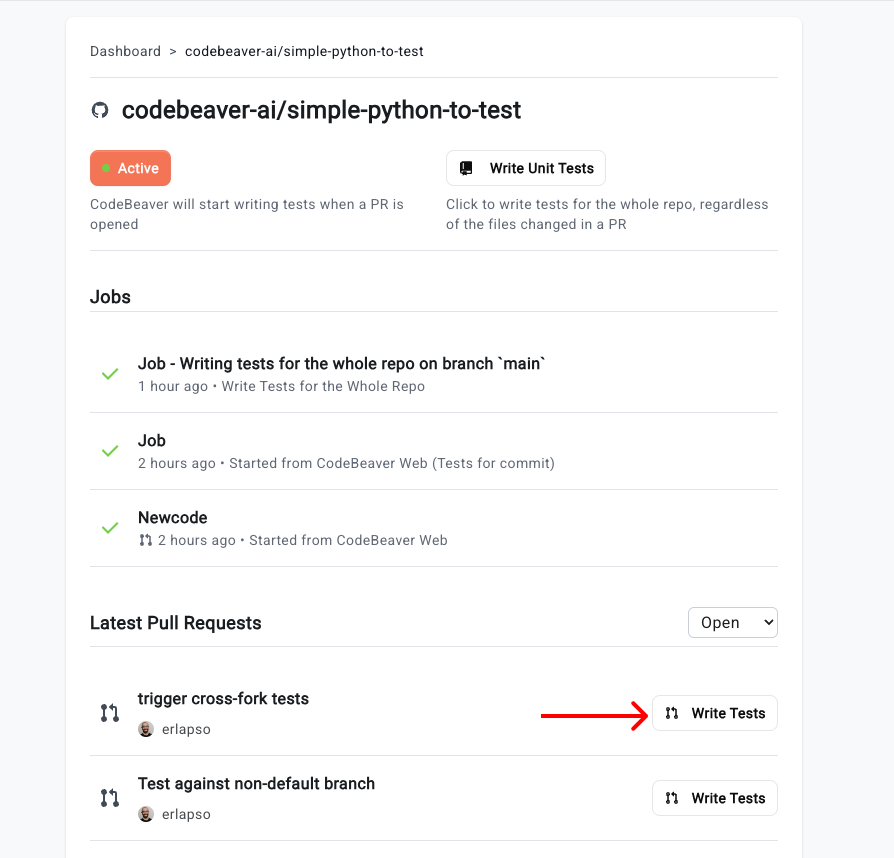
You can also trigger CodeBeaver manually. This is useful if you want to have CodeBeaver write the tests against a specific Pull Request. To do this:- Go to the CodeBeaver dashboard
- Click on the repository you want to trigger
- Scroll down to the “Pull Request” section
- Click on the “Write tests” button
Manual trigger: Write tests for specific files
You can also trigger CodeBeaver manually for specific files. This is useful if you want to have CodeBeaver write the tests for a range of files you deem more important. To do this:- Go to the CodeBeaver dashboard
- Click on the repository you want to trigger
- Click on the “Write Tests for Files” button on top
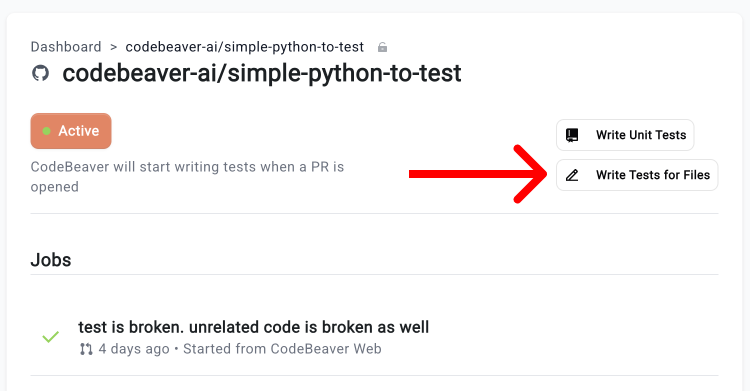
- Pick the branch you want to write tests for
- Multi-select the files you want to write tests for
- Click on the “Write tests for Files” button
Manual trigger: Write tests for the whole repo
You can also trigger CodeBeaver to write tests for the whole repository. To do this:- Go to the CodeBeaver dashboard
- Click on the repository you want to trigger
- Click on the “Write Unit Tests” button on top
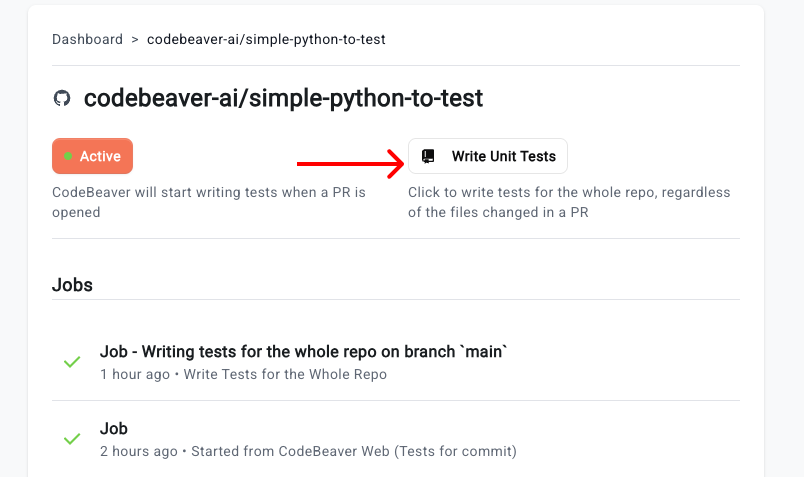
- Pick the branch you want to write tests for
- Click on the “Write Unit Tests” button
- Check out the configuration page to learn more about how to configure the timeout.
- Merge the resulting Pull Request and then run CodeBeaver again to incrementally cover your repository.
Manual trigger: Write tests for a commit
You can also trigger CodeBeaver to write tests for a specific commit. This is useful if you want to have CodeBeaver write the tests for a specific commit. To do this:- Go to the CodeBeaver dashboard
- Click on the repository you want to trigger
- Scroll down to the “Latest Commits” section
- Pick the commit you want to write tests for
- Click on the “Write Unit Tests” button